Key takeaways
- CSP is the International Concrete Repair Institute's 10-step scale of concrete roughness, from CSP 1 (nearly flat) to CSP 10 (amplitude over 1/4 inch), set out in its Technical Guideline 310.2R-2013.
- The thicker the coating, the rougher the profile it needs: coatings under 10 mils need CSP 1–3, and 10–40-mil high-build systems need CSP 3–5.
- Garage flake and metallic systems are high-build, so they call for diamond grinding or shotblasting to CSP 3 or more.
- Acid etching typically produces only CSP 1–2 and leaves water and residue behind; most coating manufacturers no longer recommend it.
- Check the profile against ICRI's physical CSP chips instead of judging by eye, and record what you achieved.
Concrete surface profile (CSP) is the International Concrete Repair Institute’s 10-step scale for how rough prepared concrete is, from CSP 1, nearly flat, to CSP 10, with peaks and valleys more than 1/4 inch (6 mm) apart. The rule behind it is simple: the thicker the coating, the rougher the profile it needs. Garage flake and metallic systems are high-build and call for CSP 3 or more, which means mechanical prep, diamond grinding or shotblasting, not acid etching.
This article explains the scale, the profile different coatings need, what each prep method produces, why manufacturers moved away from acid etching, and how to check the profile on the job. It’s one of the install steps in starting an epoxy flooring business that decides whether a floor lasts.
Where the CSP scale comes from
ICRI defines the profiles in Technical Guideline 310.2R-2013, Selecting and Specifying Concrete Surface Preparation for Sealers, Coatings, Polymer Overlays, and Concrete Repair, the current edition. It sets out the capabilities, operating requirements and limits of each prep method and gives benchmark profiles for specifying, applying and verifying surface prep. The 2013 revision added CSP 10 for aggressive repair prep, so the scale now runs 1 to 10; older documents that say “CSP 1–9” refer to earlier editions.
ICRI sells the benchmarks as a set of ten physical reference chips. Coating manufacturers write their prep requirements in CSP numbers, so the chips are how you check that you’ve met them. In the glossary: concrete surface profile.
CSP 1 to 10
Each reference chip shows the profile as it typically comes from a particular prep method:
| Profile | Shown on the chip as | Roughness |
|---|---|---|
| CSP 1 | Acid etched | Nearly flat |
| CSP 2 | Grinding | Very light |
| CSP 3 | Light shotblast | Light |
| CSP 4 | Light scarification | Light to medium |
| CSP 5 | Medium shotblast | Medium |
| CSP 6 | Medium scarification | Medium to heavy |
| CSP 7 | Heavy abrasive blast | Heavy |
| CSP 8 | Scabbled | Heavy |
| CSP 9 | Heavy scarification | Very heavy |
| CSP 10 | Coarse planing | Amplitude over 1/4 in (6 mm) |
The labels describe the chips, not a guarantee: each method can produce a range of profiles depending on the machine, the tooling and the concrete.
Which profile does your coating need?
The data sheet for the product you’re installing is the rule. Behind the numbers sits one idea: a thin film needs little tooth, a thick system needs a lot.
| Coating thickness | Required profile |
|---|---|
| Sealers, 0–3 mils | CSP 1–3 |
| Thin films, 4–10 mils | CSP 1–3 |
| High-build coatings, 10–40 mils | CSP 3–5 |
| Self-leveling, 50 mils to 1/8 in | CSP 4–6 |
| Overlays, 1/8 in and up | CSP 5–9 |
A useful rule of thumb on top of the table: for coatings, slurries and broadcast systems, the profile should be at least 20% of the system’s thickness.
Decorative garage systems are high-build. A typical single-broadcast flake system averages about 60 mils, and both flake and metallic systems call for bare concrete to be diamond ground or shotblasted to CSP 3 or greater.
What each prep method produces
| Method | Typical CSP range | Notes |
|---|---|---|
| Acid etching | CSP 1–2, at most 3 | No longer recommended by most manufacturers; see below |
| Diamond grinding | CSP 1–2, up to 3 with coarse metal-bond tooling | The garage workhorse; tooling decides how far it gets |
| Abrasive (sand) blasting | CSP 2–7 | Dusty without containment |
| Shotblasting | CSP 2–9 | Contained and dust-free; preferred by many coating makers for floors |
| Scarifying | CSP 4–7 | Aggressive; for thicker coatings only |
| Scabbling | CSP 7–10 | For overlays and repairs |
| High-pressure water jetting | CSP 3–10 | Wets the concrete, which then has to dry |
Two practical points come out of the table:
- Grinding is the garage tool, but it sits near the bottom of the scale. It’s a good option for thinner coatings; thicker coatings that need a more aggressive profile may need another method. If a data sheet asks for CSP 3 and your ground floor matches the CSP 2 chip, go coarser on the tooling or switch to a shot blaster. Diamond tooling for concrete grinding covers grits and bonds; the concrete grinder rental guide covers renting either machine.
- Shotblasting covers the most range. It can produce anything from CSP 2 to CSP 9, and because it’s a contained, dust-free process it’s the natural choice where prep has to stay clean.
Floors with old coatings
Clean the floor before you grind, so you don’t spread contaminants over a bigger area. Then grind with 30-grit metal diamonds until any grout, and any topcoat that isn’t epoxy-based, is completely gone and the floor has the profile the new system calls for. Thick coatings, glue and mastic smear and gum up ordinary diamonds; PCD tooling takes them off fast without smearing. An aggressive PCD on soft concrete can leave deep gouges, so go back over the floor with metal-bond diamonds to even it out, then check the profile against the chips as you would on bare concrete.
Why manufacturers stopped accepting acid etching
For years, acid etching was how floors were prepped. Most coating manufacturers no longer recommend it, for five reasons:
- Too little profile. Etching tends to produce CSP 1–2, suitable only for very thin systems. Today’s high-solids systems need CSP 3 to 9.
- It doesn’t clean. Acid removes laitance but can’t remove curing compounds, oily deposits or other water-insoluble contaminants, and it’s hard to rinse and neutralize completely.
- Unpredictable results. The same process can leave a slab over-etched in one spot and under-etched in another.
- It adds water. Rinsing saturates the slab, so you either wait days for it to dry or pay for a moisture-tolerant primer.
- Safety and disposal. Muriatic acid burns skin and its fumes are dangerous to breathe, and many local rules restrict washing the rinse water down drains.
If a customer or a DIY kit says “just etch it”, the manufacturer’s data sheet is your answer.
How to check the profile on the job
- Compare with CSP chips. Hold the chips next to the prepared floor, in good light, in several spots, including the edges. Feel as well as look. Record the CSP you matched on the job-day checklist.
- Check the edges as hard as the field. Hand-ground edges can end up smoother or patchier than the walk-behind’s work; the coating needs the same profile everywhere.
- Use a replica when it matters. Replica putty pressed into the surface records the profile so it can be measured or kept as a record.
- Check that it’s clean, not just rough. Profile doesn’t help if contamination remains. Test the prepared floor with distilled water and pH paper: normal concrete reads 11 to 13, and 10 or lower means more prep is needed.
- Verify bond where the spec calls for it. Pull-off (tensile) bond tests are a common quality check on commercial work.
Common profile mistakes
- Judging the profile by eye instead of against chips.
- Using worn or fine tooling and getting a polished, closed surface.
- Grinding the field to CSP 3 and the edges to nothing.
- Etching where the data sheet asks for mechanical prep.
- Shotblasting more aggressively than the system needs: very aggressive shotblasting opens the pores and leads to bubbles.
- Not writing down what you achieved, so there’s nothing to show the manufacturer if the floor fails.
Profile problems show up later as peeling and bubbles; why epoxy floors fail traces them back. For where prep fits in a full install, see flake floor installation, and test moisture before you grind with concrete moisture testing.
Learn to read a slab with your hands. Matching a floor to a CSP chip, and knowing when your grinder has done enough, comes from seeing it and then doing it. In The Epoxy Playbook you watch the full installation, replay it as often as you need, then do it on the slab in a hands-on class.
Questions
What CSP do I need for an epoxy floor coating?
Whatever the coating's data sheet specifies. As a guide, thin coatings (up to about 10 mils) need CSP 1–3 and high-build coatings of 10–40 mils need CSP 3–5. Decorative garage systems, flake and metallic, are high-build and usually call for CSP 3 or more.
Can a floor grinder reach CSP 3?
Yes, with coarse metal-bond tooling. Grinding sits at the low end of the scale, typically CSP 1–2, and coarse tooling is what gets it to CSP 3. Check the result against CSP chips, and switch to shotblasting if the system needs more.
Is acid etching good enough before epoxy?
Not for most modern systems. Acid etching typically produces only CSP 1–2, can't remove curing compounds or oily contamination, can over-etch the slab, and soaks it with water. Most coating manufacturers no longer recommend it.
How do you measure concrete surface profile?
Compare the prepared floor with ICRI's ten CSP reference chips, sold with its guideline. Replica putty pressed into the surface records the profile for measurement, and pull-off adhesion tests verify the bond on commercial work.
Keep reading
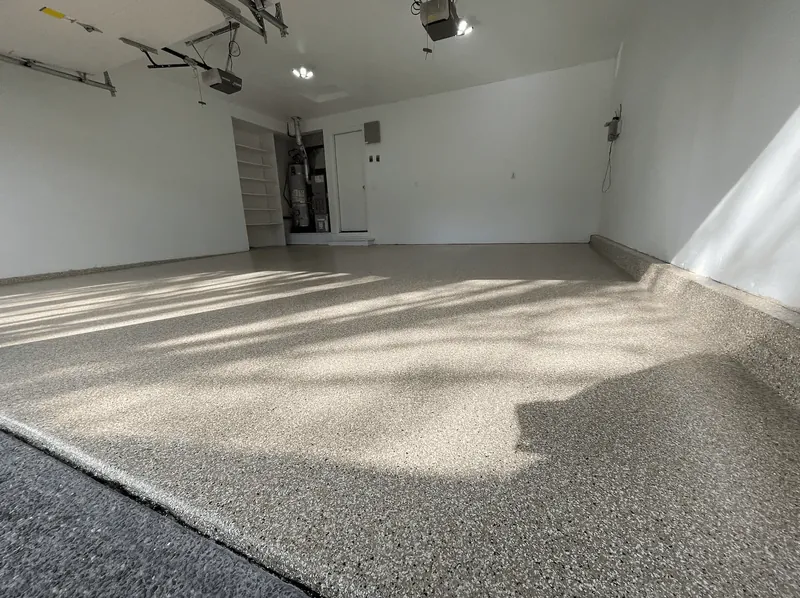
How to install a full-broadcast flake floor, step by step
Install a full-broadcast flake epoxy floor step by step: moisture test, grind to CSP 3, repairs, primer, base coat, flake at 5–7 sq ft per lb, topcoat and cure.
Diamond tooling for concrete grinding: bonds, grits and PCDs for coating prep
Concrete grinding tools explained: metal-bond diamonds and grits for coating prep, matching bond to concrete hardness, PCDs, resin bonds, cup wheels and costs.
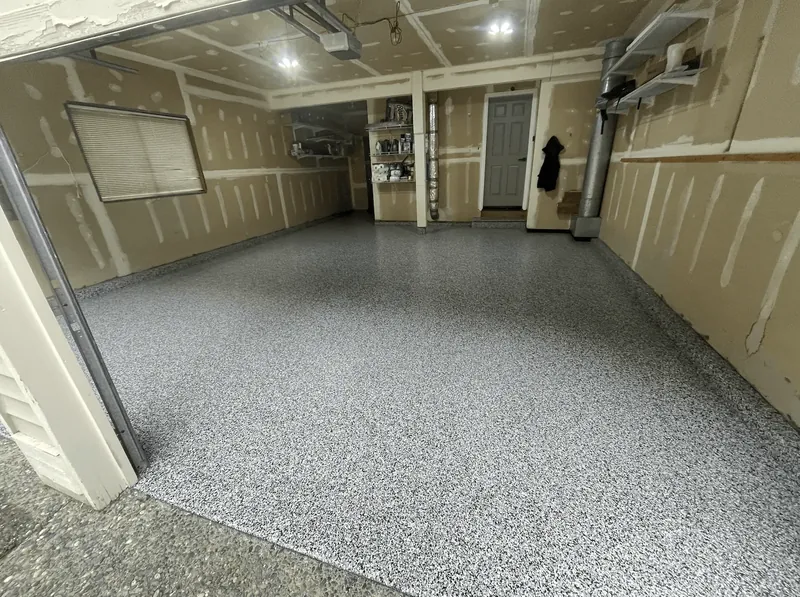
Why epoxy floors fail: causes, prevention and how to handle a callback
Why epoxy floors fail and how to prevent it: delamination, hot tire pickup, amine blush, bubbles, fisheyes, yellowing, uneven flake, edge peeling and cracks.
Concrete grinder rental: what to rent, what it costs, how to use it
Concrete grinder rental rates for hand-held, dual-disc and planetary grinders, what's charged extra, power and OSHA dust rules, and a garage step by step.