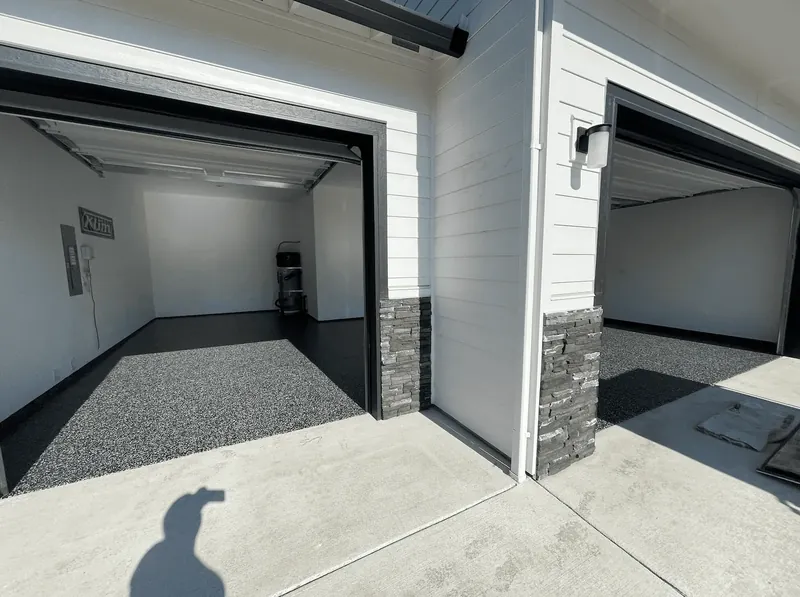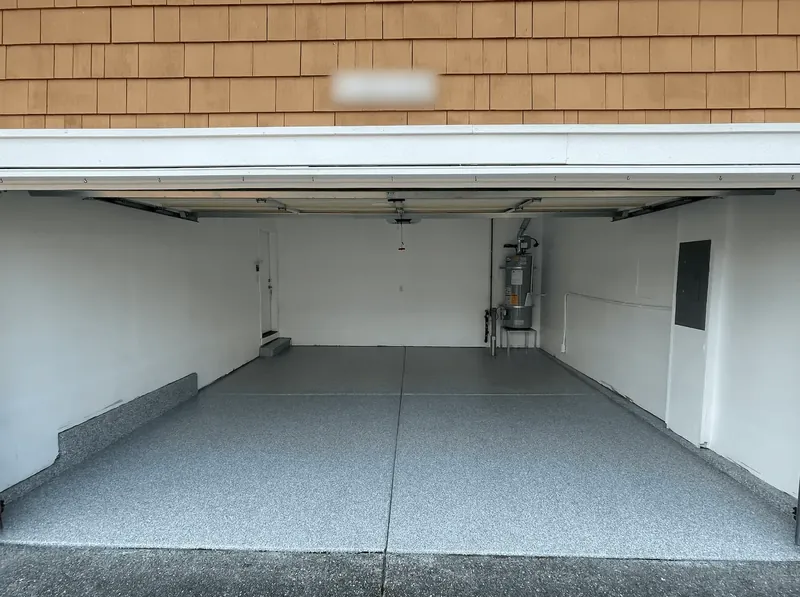
Key takeaways
- Measure every area in feet, split odd shapes into rectangles and triangles, and price the measured area; waste belongs in the material math, not in the square footage.
- Deduct only what won't be coated, like fixed cabinets, benches and platforms. Posts, pipes and drains stay in, because working around them takes longer, not less.
- Record linear items separately: cracks, joints, stem walls and cove by the linear foot, steps by the count. Each becomes its own line on the estimate.
- Inspect and test before you quote: cracks, old coatings, oil, moisture, the age and hardness of the concrete each change the system, the schedule or the price.
- Note access, power, temperature and how the space gets emptied. A grinder that can't get in or can't plug in costs you a day.
- Photograph the whole floor and every problem with a tape measure in the shot; the photos back up your adders and record any damage that was already there.
Measuring a floor for an epoxy estimate takes more than length times width. You need the square footage of every area to be coated, the linear feet of everything priced by the foot (cracks, joints, stem walls, cove), a count of steps, and a record of the slab’s condition, the access and the power. Get all of that on the first visit and the estimate almost writes itself. Miss it, and the gap comes out of your margin on install day.
This is the measuring and inspection part of the site visit. The epoxy flooring sales process covers the rest of the visit, and how to price epoxy flooring turns the numbers into a price.
Tools for the site visit
- A laser distance measure and a 25-foot tape; a measuring wheel for large commercial floors.
- Graph paper or a measuring app for the sketch.
- A phone camera, a flashlight and chalk or a marker.
- A spray bottle of water, for the sealer check.
- A Mohs scratch kit, or at least a pocketknife, to judge slab hardness.
- A moisture meter or test kit, or the materials to start a test.
- A copy of the estimate template, so you collect everything it asks for.
Measure the floor
Measure wall to wall at floor level, and measure each separate area on its own: each bay, the bump-out, the landing by the house door. Write feet and inches, then convert inches to decimal feet by dividing by 12, so 6 inches is 0.5 ft and 9 inches is 0.75 ft. Most laser measures will show decimal feet directly.
At the garage door, measure to where the coating will stop, usually the outside edge of the slab under the door, and note where the driveway apron starts if the customer wants that coated too.
Odd shapes are just simple shapes added together:
| Shape | Formula | Example |
|---|---|---|
| Rectangle | Length × width | 24 × 22 = 528 sq ft |
| L-shape | Split into two rectangles and add them | 528 + (10 × 8) = 608 sq ft |
| Triangle (an angled corner) | ½ × base × height | ½ × 6 × 4 = 12 sq ft |
| One angled wall | (Front + back) ÷ 2 × depth | (20 + 16) ÷ 2 × 10 = 180 sq ft |
| Circle | 3.14 × radius × radius | 3.14 × 3 × 3 = 28.3 sq ft |
| Half circle | Half of the circle | 14.1 sq ft |
Draw a sketch and write every dimension on it. Mark the door, drains, cracks, joints and anything you’ll photograph. The sketch goes in the job file with the estimate, and it’s what the crew reads on install day.
What to deduct and what to leave in
Deduct only what stays put and won’t be coated: built-in cabinets, fixed workbenches, raised platforms and equipment pads. Leave in posts, pipes, small drains and the spot under a water heater. They don’t save you any material worth counting, and cutting around them takes extra time.
Movable things aren’t deductions either. Shelving, freezers, toolboxes and the customer’s car all have to come out, and the estimate should say who moves them.
Price the area you measured. Waste belongs in the material math (rough, thirsty concrete drinks more primer, and some flake is always lost), not in the square footage you show the customer. The coverage calculator and the flake calculator both have a waste setting for that. On small floors, check the result against your minimum job price.
What to record about the slab
The base price assumes a sound, dry, clean slab. Everything else gets recorded, because it changes the system, the schedule or the price:
| Item | What to record | Why it matters |
|---|---|---|
| Cracks | Linear feet, the widest width, any side sitting higher | Crack repair per linear foot; some cracks need an exclusion |
| Control and construction joints | Linear feet; fill or keep open | Joint filling per linear foot |
| Spalls, pitting, popouts | Count and size, or the area affected | Patching per patch or per sq ft |
| Oil and stains | Where and how big | Degreasing and extra grinding |
| Old coating or sealer | What it is, if anyone knows; how well it’s bonded; how much of the floor | Removal per sq ft, more time and tooling |
| Moisture | White deposits, dark damp areas, test results or the test plan | A moisture barrier coat, or a different system |
| Age and hardness | Pour date if known; Mohs reading | New concrete waits at least 28 days; hard concrete grinds slower |
| Drains and slope | Floor and trench drains; where water ponds | Detail time; patching or slope work |
| Edges and thresholds | The door line; transitions to other floors | Saw-cut keyways and transition strips |
| Stem walls and cove | Linear feet and height | Priced per linear foot |
| Steps | Count, width, riser height, nosing | Priced per step |
| Temperature | Slab and air temperature; heat available | Cold slabs mean heaters or a later date |
Four quick checks fill in most of that table:
- Water drops. Spray a little water on the bare slab. If it soaks in and darkens the concrete within a minute or so, the surface is open. If it beads or just sits, there’s a sealer, densifier or coating that has to come off. Removing old floor coatings covers how to identify what’s there.
- Cracks and joints. Run a fingernail or coin across each crack to feel for offset, and measure the widest point. Crack and joint repair before coating explains which ones you can fix and which ones you write out of the warranty.
- Moisture. Look for efflorescence, dark patches and rust or water lines low on the walls, then test or schedule the test. A calcium chloride test sits for about three days, so plan the return visit now. The methods are in concrete moisture testing.
- Hardness. A Mohs scratch kit tells you which diamonds to bring and how fast the floor will grind; see diamond tooling for concrete grinding.
Access, power and the space
These don’t change the square footage, but they decide whether the install goes to plan:
- Access. Door widths, steps, gates and the distance from the trailer to the floor. A basement or a second floor may need a smaller grinder or extra hands to carry it.
- Power. Find the panel and the outlets you’d use. A 10-inch single-disc grinder runs on a dedicated 115-volt circuit; most dual-disc and planetary grinders need 230 volts, and the dust extractor needs its own circuit. With no 240-volt outlet (a dryer, range or welder outlet), plan on a generator. Concrete grinders for epoxy prep lists what each machine needs.
- Ventilation. Doors and windows that open, and whether the space shares air with the house or an occupied business.
- Contents. What’s in the space, who moves it, where it goes and where the cars park until the floor is cured.
- Restrictions. HOA rules, noise hours, business hours on commercial jobs, and kids and pets in the house.
- Staging. Where the trailer parks and where you can mix.
Photos to take
- The whole floor from each corner and from the doorway.
- Every crack, spall and stain with a tape measure in the shot for scale.
- The edges of any old coating, and any peeling.
- Moisture signs: white deposits, dark patches, water lines on the walls.
- Stem walls, steps, thresholds and drains.
- The electrical panel and the outlets you plan to use.
- The access route, including anything already damaged along it: walls, door tracks, the driveway.
Number the photos on your sketch. They back up every adder on the estimate, and they’re your record of damage that was there before you arrived.
From measurements to a price
Here’s how one visit adds up, for a two-car garage with a workshop bump-out:
| Item | Measurement | Quantity |
|---|---|---|
| Main floor | 24 ft × 22 ft | 528 sq ft |
| Bump-out | 10 ft × 8 ft | 80 sq ft |
| Fixed workbench (deduct) | 8 ft × 2 ft | −16 sq ft |
| Landing at the house door | 4 ft × 3 ft | 12 sq ft |
| Floor total | 604 sq ft | |
| Cracks | Two cracks, 11 ft and 15 ft | 26 linear ft |
| Control joints | One each way | 46 linear ft |
| Stem walls, 6 inches tall | Back and side walls, less the 10 ft bump-out opening | 58 linear ft |
| Steps | 36 inches wide | 2 |
The 604 sq ft goes into the coverage and flake calculators for gallons, kits and boxes. The cracks, joints, stem walls and steps each go on their own line, priced per linear foot or per step, as in price the adders as separate lines. Then the job pricing calculator turns materials, crew days and visits into a price, and the estimate template puts it in front of the customer with the scope written out. Where the stem walls meet the floor, offer cove base as an option on the same estimate.
On install day, the job checklist picks up where the visit left off. If you want to see how a full installation runs before you start quoting them, The Epoxy Playbook pairs recorded hands-on installation training you can replay with the business side, including pricing, quoting and selling the job.
Questions
How do you calculate square footage for an epoxy floor?
Measure the length and width of each area in feet and multiply. Split L-shaped and irregular rooms into rectangles and triangles (half the base times the height), add them up, and subtract fixed items that won't be coated. Convert inches to feet by dividing by 12, so 22 feet 6 inches is 22.5 feet.
Should I add waste to the square footage?
No. Price the area you measured, and add waste when you work out material: extra resin for rough or thirsty concrete, and flake lost in the broadcast. The coverage and flake calculators have a setting for it, so the waste shows up in gallons and boxes rather than in the customer's square footage.
What size is a two-car garage floor?
Commonly somewhere between 20 by 20 feet and 24 by 24 feet, about 400–576 sq ft, but garages vary enough that you should always measure. Bump-outs, deeper bays, landings and steps change both the area and the price.
Do I need to test for moisture before giving an epoxy estimate?
You need the answer before you commit to a system. Look for moisture signs on the visit and run or schedule a test. A calcium chloride test sits on the slab for about three days before it's read, so many installers quote with a moisture barrier as an option and confirm it with the test before the install.
What tools do I need to measure a floor for epoxy?
A laser distance measure and a 25-foot tape, a measuring wheel for big commercial floors, paper or an app for the sketch, a phone camera, a flashlight, a spray bottle of water, a Mohs scratch kit or a pocketknife, and a moisture meter or test kit.
Keep reading
How to price epoxy flooring so every job pays
Build an epoxy floor price from materials, labor, overhead and profit, with a worked two-car garage example, margin vs markup, a minimum job price and adders.
The epoxy flooring sales process: from first call to signed contract
The in-home epoxy flooring sales process: pre-qualifying calls, measuring, moisture checks, three options, the $200 DIY kit objection, deposits and follow-up.
Crack and joint repair before you coat a concrete floor
How to repair cracks and joints before an epoxy coating: read each crack, chase and fill it, fill or honor control joints, patch spalls and know what no coating fixes.